Working with Schedules for Configured Templates
This topic explains how to create, edit, and delete Schedules for Configured Templates.
To create a Schedule, you must first consult with Tripwire Support to configure a connection between Tripwire Connect and an SMTP server.
If you create a Schedule for a Configured Template, the template will run at the specified times and the resulting Reports will be automatically e-mailed to specified recipients.
To create a Schedule for a Configured Template:
|
1.
|
In the side bar, select Connect Reporting > Reporting. |
|
2.
|
Select the CONFIGURED TEMPLATES tab. |
Your Configured Templates are presented in a table in the workspace.
|
Tip:
|
To filter the contents of the table, click , enter a string in a filter field, and press ENTER. , enter a string in a filter field, and press ENTER.
|
|
3.
|
Select the check box for the Configured Template and click Add Schedule. |
|
4.
|
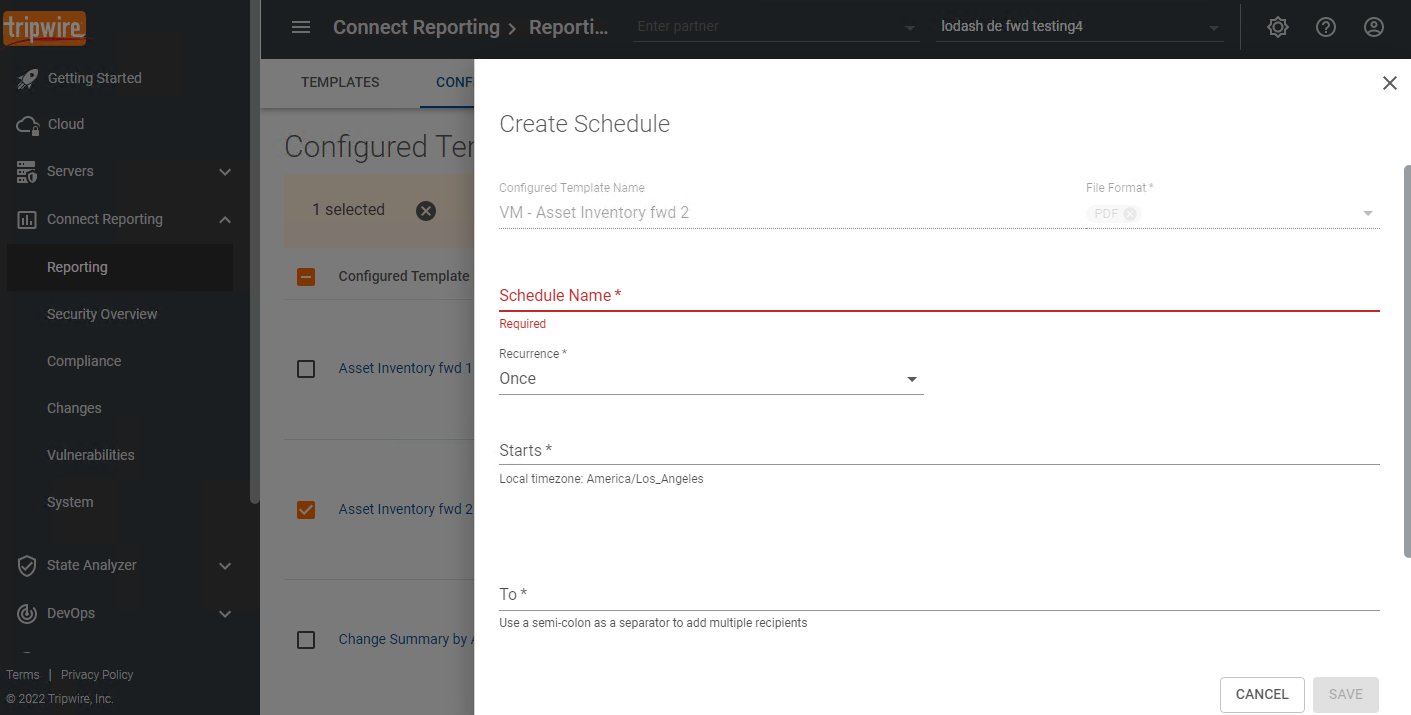
In the Create Schedule dialog (see Figure 12): |
|
a.
|
Complete the required fields (indicated by *). |
In the To field, enter the e-mail addresses of the recipients to whom Reports generated by the Configured Template will be e-mailed. To enter multiple addresses, add a semi-colon after each address.
|
b.
|
In the Subject field, enter the Subject line for these e-mails. |
|
c.
|
In the Message field, enter the body text. |
Figure 12. Create Schedule dialog
To edit or delete a Schedule for a Configured Template:
|
1.
|
In the side bar, select Connect Reporting > Reporting. |
|
2.
|
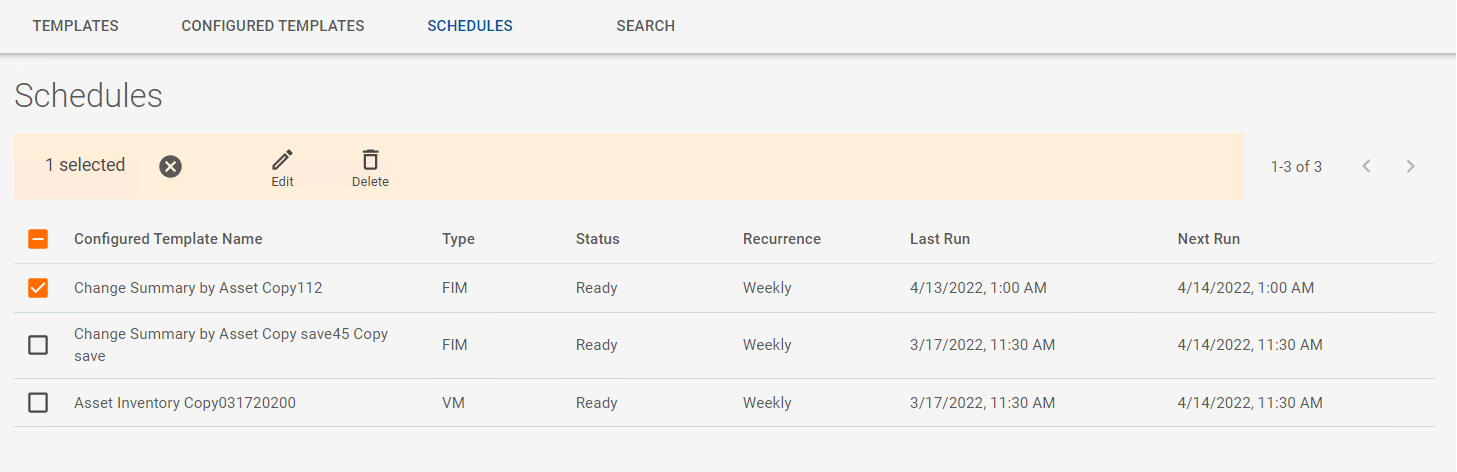
Select the SCHEDULES tab. |
The Schedules for your Configured Templates are presented in a table in the workspace.
|
a.
|
Select the check box for the Schedule (see Figure 13). |
|
c.
|
Modify the Edit Schedule panel, as needed. |
To delete a Schedule:
|
a.
|
Select the check box for the Schedule (see Figure 13). |
|
c.
|
In the Delete Schedule dialog, click DELETE. |
Figure 13. A Schedule selected in the SCHEDULES tab